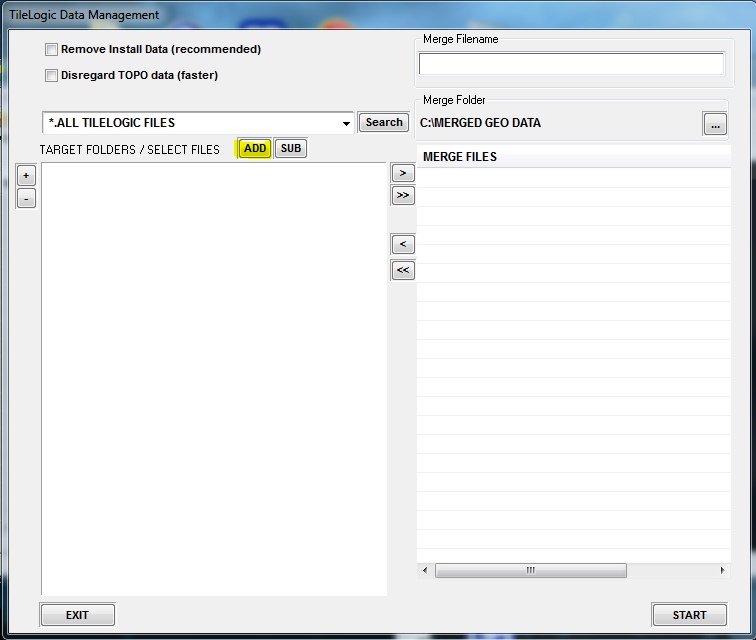
Data Management QUICK START
Step 1. Add Target Folders
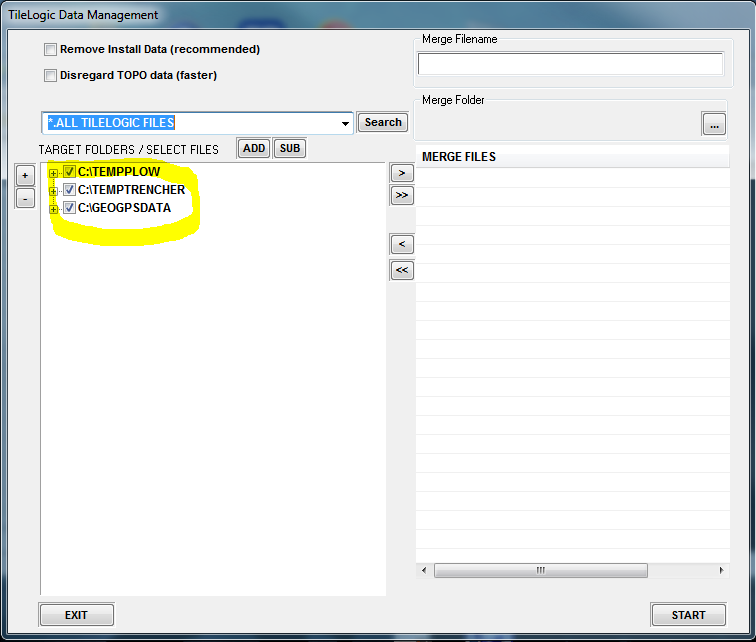
Select a folder to add as a target for finding data...Repeat for each folder.
There should now be a listing of elible folders, which will contain TileLogic Data...something like this.
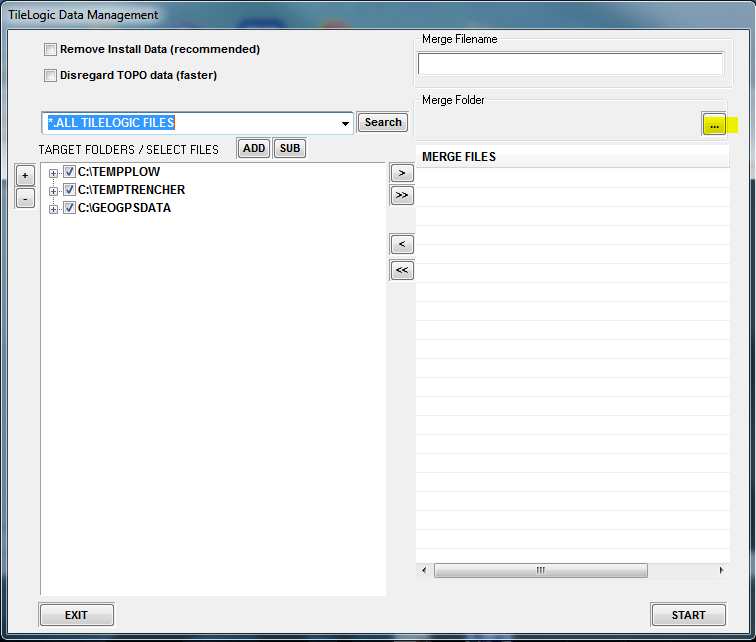
STEP 2 Merge Folder
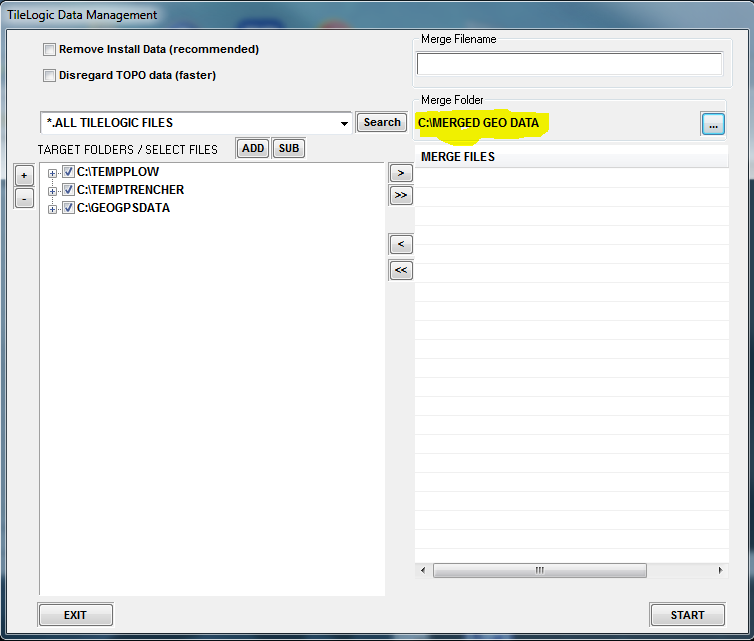
Next, select a Merge Folder, by similar means to the above steps...
Now, there should be valid merge folder, where the new merged file will be created....
STEP 3 Select Files
At this point, the default target directories are set, along with the merge (output) folder. These will be saved, with the first merge...
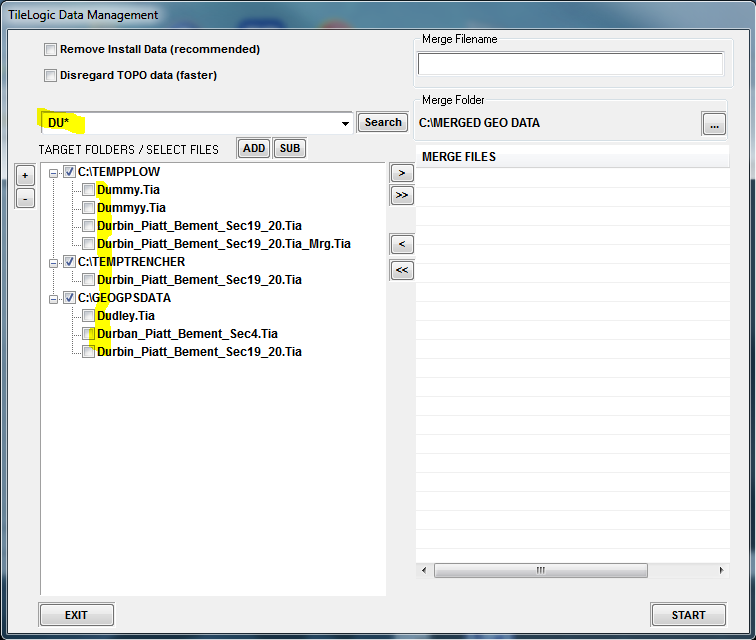
Now, find files in to merge...clicking Search with "*.ALL TILELOGIC FILES" could yield lots of files...
So entering a search string is helpful. Example : Entering "DU*" will search for all files beginning with "DU" and anything thereafter...
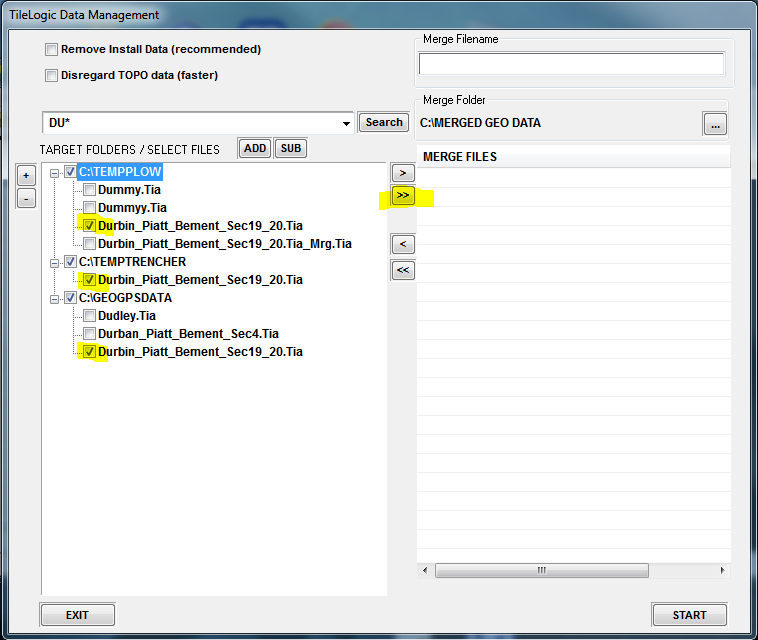
Now that the search is narrowed, it's easy to find the files needed...select by clicking the boxes, of relevant files..
Then click the >> to move all this to the right Merge files listing.
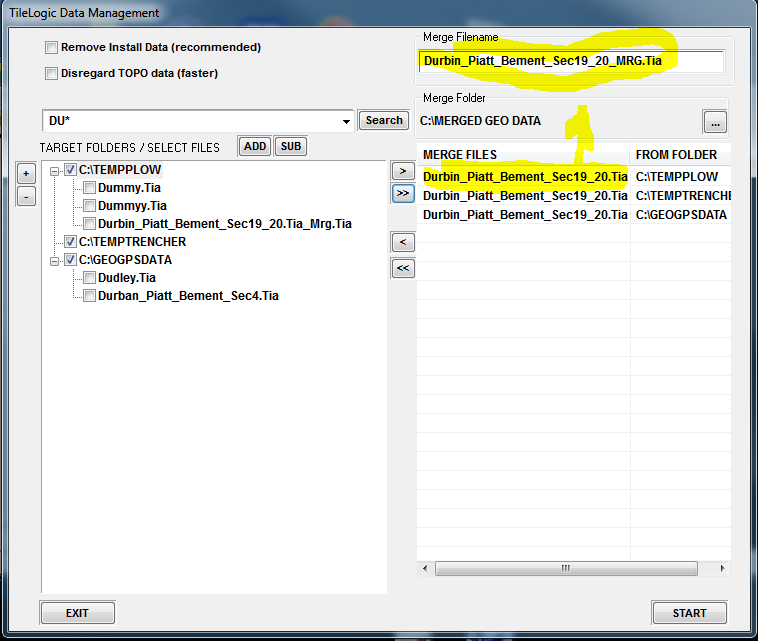
Now, you can see, the files are moved to the right, and are ready for merge. Notice the highlight pointing out, that the merge file is created from the top (or primary file) with "_MRG" appended to it. This can be manually edited if you like.
Also notice, that the files, are removed from the left. If you make a mistake, use << to redo, or select a single file on the right, and use < to move it back. You may also add more files, if you didn't get them all in one move.
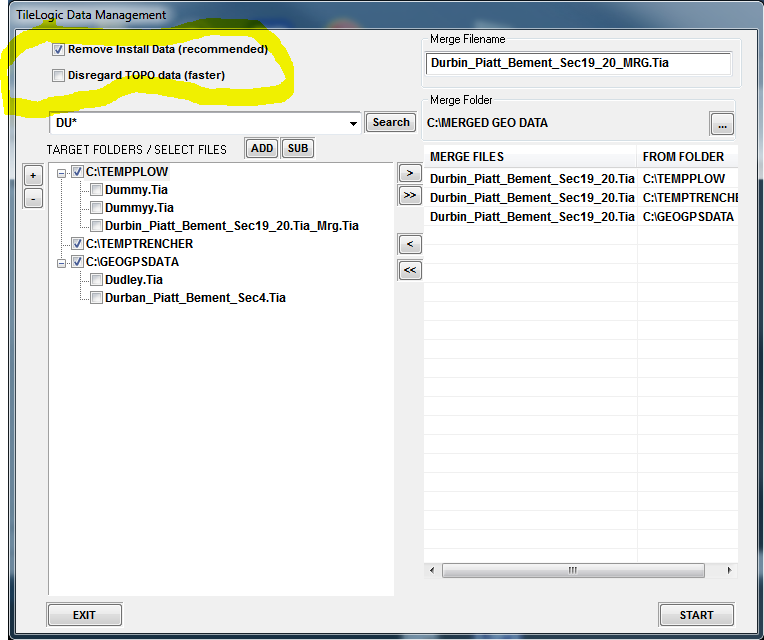
Almost ready, but first, consider whether you need to merge and/or retain the install data (survey passes)....Then click Start...
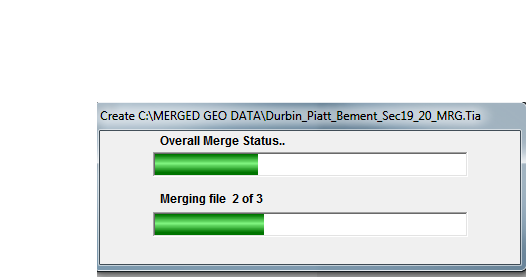
STEP 4 CREATE
Progress will be displayed
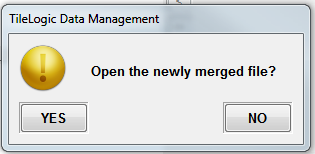
followed by
You may now open the file by clicking YES or do another. Your settings have been saved, and you only have to re-select files (Step #3) to merge next time.