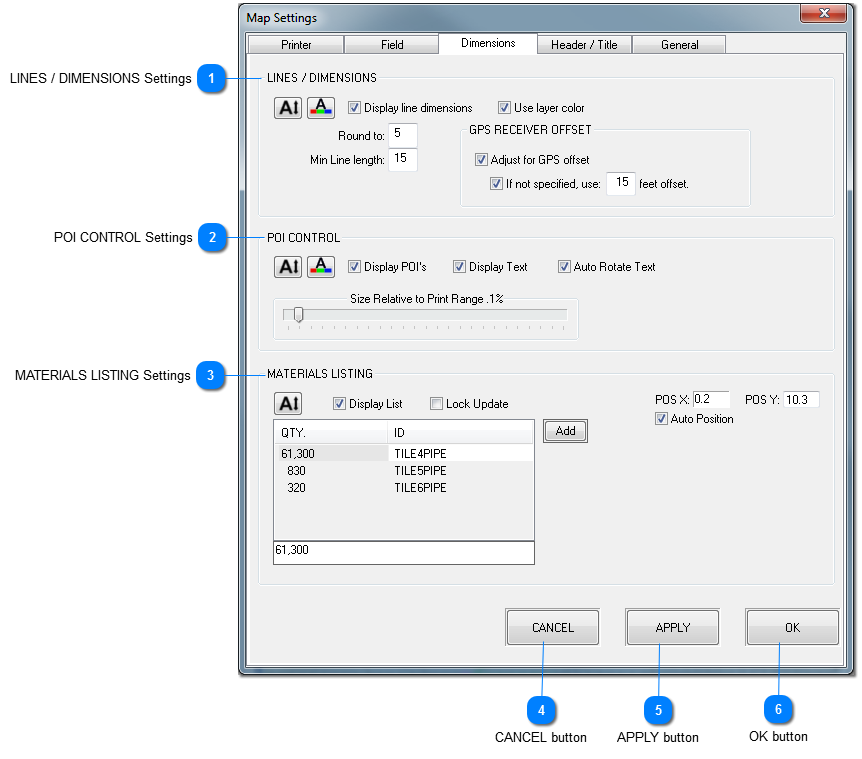
Opens color selection window for default font color of dimension text (if use layer color is unchecked)
If checked, uses the color assigned to the layer, which the mapped line belongs.
Rounding value, to round dimensions to. In this case, dimensioned lines would be rounded to the nearest 5 feet.
The minimum line length that is dimensioned. Lines shorter than this length, are not dimensioned, or included in material totals.
If checked, automatically move lines back to correct for GPS receiver offset distance from tile starting point.
If checked, use the distance specified as a default GPS offset. This value should be set for each installation machine, and may differ. If for some reason it is not, this distance will be used.
Note: Lines that were previously manually moved (by editing) will NOT BE AUTOMATICALLY moved. This prevents undesired results.
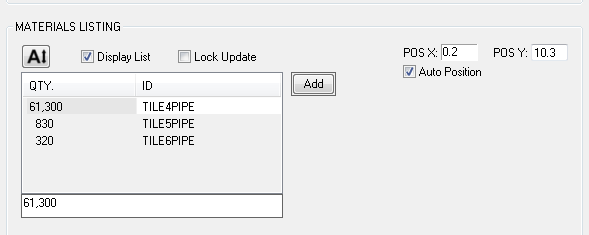
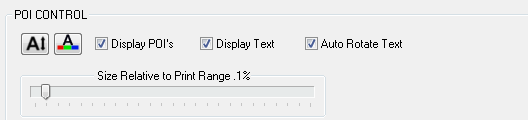
If checked, the material totals are locked, and will not change. Normally, each time map preview is re-displayed, dimensioned are automatically re-totaled.
Postion of the materials listing, 0, 0 being TOP, LEFT of page, from left margin / top margin. Here can be seen, that Auto Position is checked, and the materials listing is located .2" from the left margin, and 10.3" down from the top margin. To move, UNCHECK Auto Position, and input new x, y position.
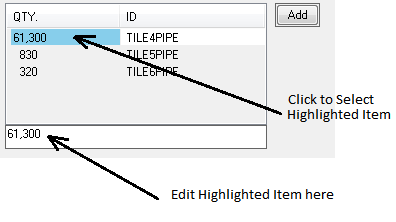
MANUALLY EDITITING ITEMS
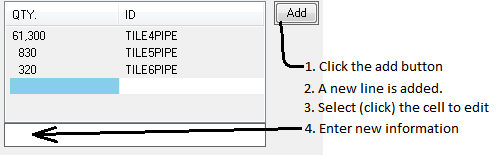
MANUALLY ADD ITEM
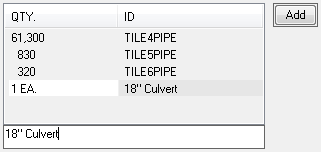
A new Culvert as manually added to the listing:
Items Manually added, will be retained, whether the materials are locked or not.

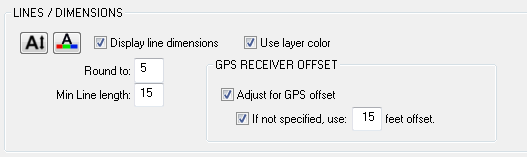
 The size of the POI marker, relative to the print range specified. Range is 1% to 25%.